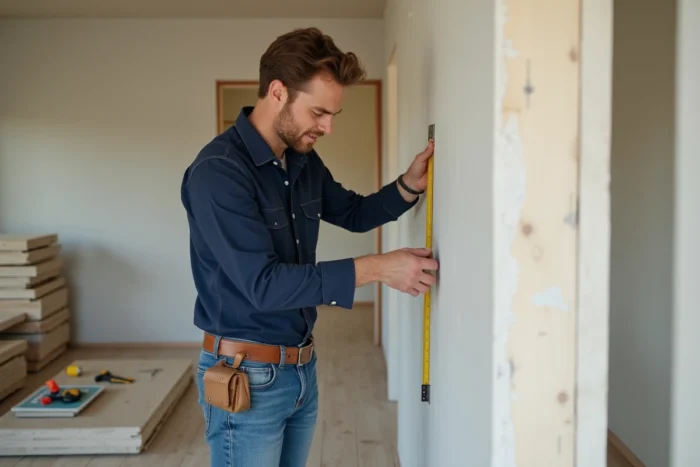
The installation of a drywall partition allows for little approximation: a slight misalignment compromises sound insulation and the attachment of furniture. One in two construction sites forgets the step of precise marking on the floor and ceiling, leading to laborious adjustments at the end of the installation.
Sometimes, installing the tracks without anticipating electrical passages requires dismantling part of the framework. Professionals advise always checking the flatness of the supports before fixing the first screw; otherwise, the joints may crack.
Why installing a drywall partition changes everything in an interior
Installing a drywall partition radically transforms the organization of the home. The living room takes on a more convivial atmosphere, a new sleeping area is isolated, and the bathroom finds its place in a reimagined master suite. This material, flexible, manageable, and economical, adapts to all needs. Spaces are separated without overwhelming, a home office or library is created, and structure is provided without permanently fixing it. The flexibility of drywall invites itself into all projects where one seeks to personalize the space without constraints.
Beyond its role as a separator, the drywall partition shapes the overall ambiance. It modulates light, changes the perception of volume, sometimes integrates a glass partition to add charm, or enhances sound and thermal insulation with suitable materials. Some choose to add thermal insulation in the framework for more comfort, while others focus on the speed and ease of implementing drywall to easily integrate wiring and electrical networks.
To ensure a result that meets expectations, certain basic principles must be followed:
- perfect alignment between the floor and the ceiling,
- selection of an appropriate insulation for the room’s use,
- careful and meticulous treatment of the joints.
To go further, Les conseils de Les Embellies Déco detail all the steps, from choosing materials to the final touches, to achieve a custom interior that lasts.
What are the essential steps to install a drywall partition like a pro?
Everything starts with a meticulous preparation phase: marking, measuring, checking every detail. A laser level is an indispensable ally to ensure that the future partition is perfectly straight from floor to ceiling. Mark the line, place the tracks on the floor and ceiling, then check each alignment. The metal framework is then put in place: the studs are inserted at regular intervals, ensuring the overall strength.
When the framework is ready, it’s time to fix the drywall panels. Cut each panel to the correct size using a sharp utility knife, ensuring clean edges to avoid unnecessary touch-ups. The installation of drywall requires spacing the screws evenly to guarantee flatness and strength. Anticipate the passage of electrical conduits: insert the cables before closing the partition, making the necessary holes. The result: a clean and secure installation, with no risk of having to reopen everything later.
Insulation, whether thermal or acoustic, is placed between the studs at the right moment. This step improves the comfort and overall performance of the drywall partition. Joint treatment then requires patience and precision: a first coat of compound, the application of tape, followed by smoothing in several thin layers with sanding between each step. This care is reflected in the final surface, ready to receive any finish.
To succeed, you need to rely on appropriate tools: a reliable screwdriver, a precise utility knife, a laser level, and a metal ruler. At each step, the quality of the materials and the rigor of the actions are reflected in the final result.
Practical tips and tricks to avoid common pitfalls during installation
Anticipate, measure, check: vigilance pays off
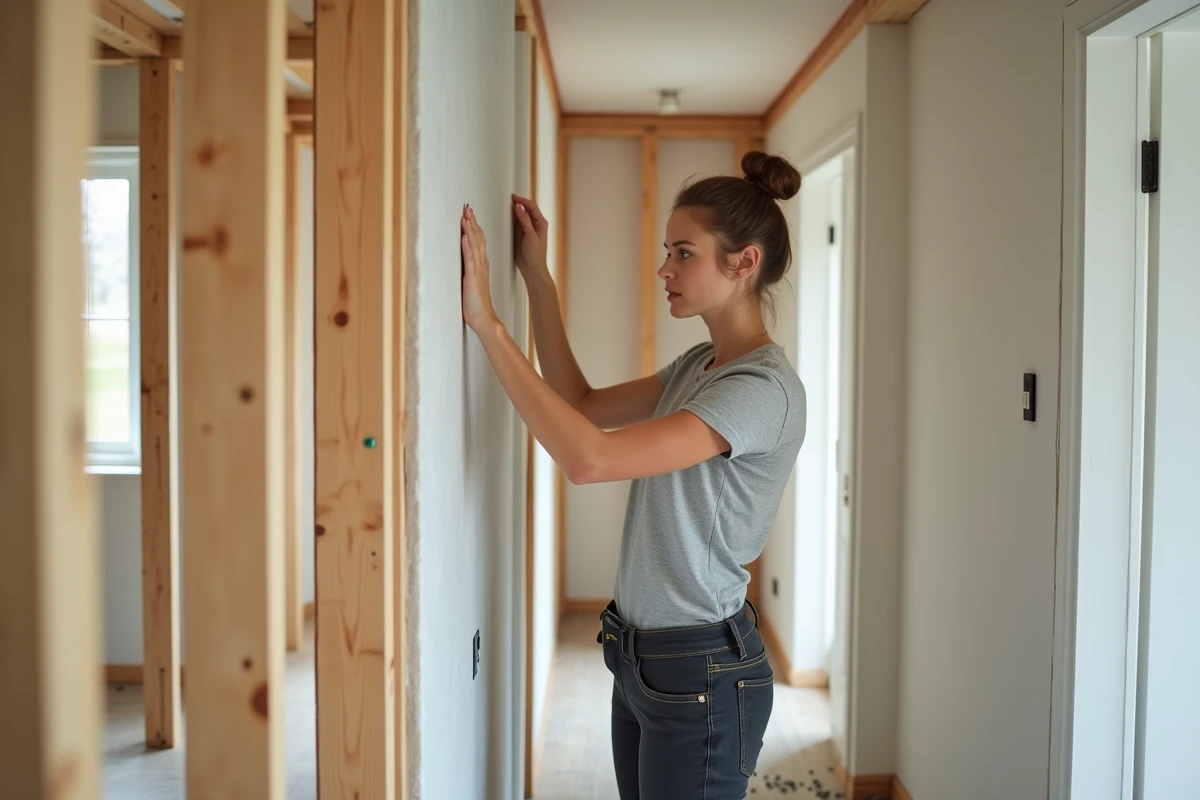
At every step, the slightest approximation can complicate everything. A poorly placed mark can affect alignment: even covered with beautiful paint, the flaw is visible. To avoid this kind of mishap, always have a laser level or a large metal ruler on hand: they ensure the perfect plumb of the tracks and studs. Also, prepare everything needed before starting: panels, framework, screws, accessories. Check the compliance of each element with your project to avoid last-minute trips.
Respect spaces and the order of operations
Here are some essential practices to adopt to avoid common mistakes:
- Always leave a gap for expansion of a few millimeters around the perimeter: drywall reacts to changes in temperature and humidity.
- Place the thermal or acoustic insulation at the right time, without compressing it, to maintain its effectiveness in the drywall partition.
- Avoid screwing too close to the edges: the drywall is fragile and may crack under pressure.
For cutting the panels, focus on precision: a clean cut avoids tedious adjustments. As for the joint treatment, take the time to apply the compound in several thin layers, lightly sanding between each pass for a flawless result.
Finally, if the partition rests on wood, adapt your fixings. Use appropriate screws that anchor securely without damaging the structure. It’s often in these small details that the strength of the installation lies, and the peace of mind for the years to come.
A well-installed partition reveals no noise, cracks, or regrets. It almost fades away to let the space breathe while shaping a new interior life, ready to welcome your desires.